Weekend Diversion: Bubbles on Ice
Amazing, fun and beautiful. So long as the cold doesn’t bother you, anyway.
“The only frozen heart around here is yours.” –Anna, to Hans, from Frozen
I know that the brutal cold gets to many of you, and that there’s only so much of the winter wonderland mindset you can take before it simply drives you crazy. But the winter is also filled with some glorious sights and activities that are simply unique to the cold, crisp season. Have a listen to the amazing voice of Eilen Jewell as she sings her song, Fourth Degree,
while you consider the simple but glorious sight of a soap bubble freezing in the cold.

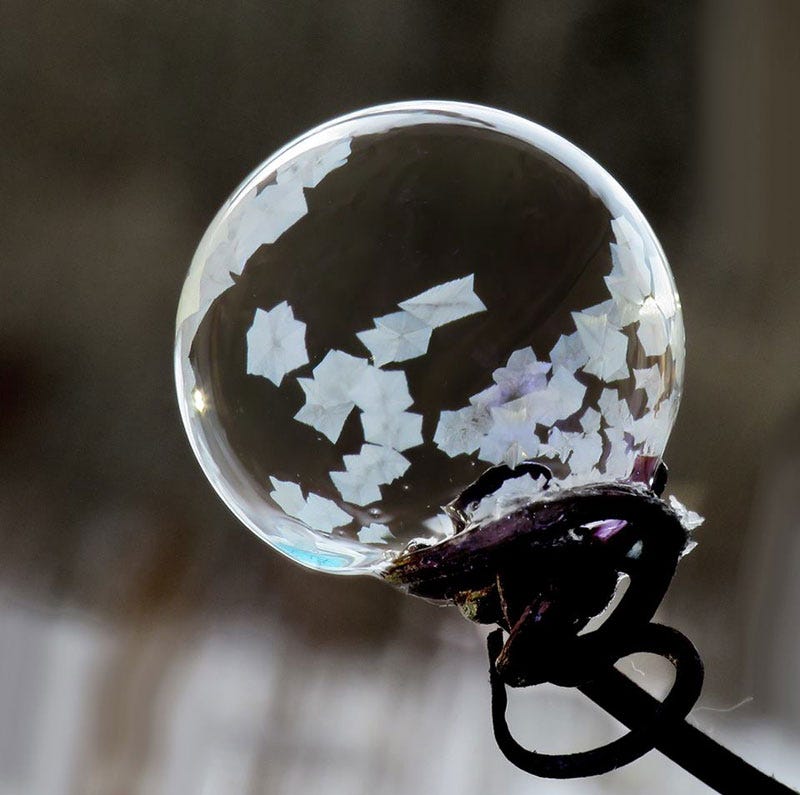
Soap bubbles, of course, start out as a mix of soap, water, and sometimes a sugary or gelatinous additive to thicken the bubble walls and make them more robust. But if you drop the temperature to a low enough amount below freezing, the tiny imperfections in the bubble’s structure will result in the formation of ice crystals.
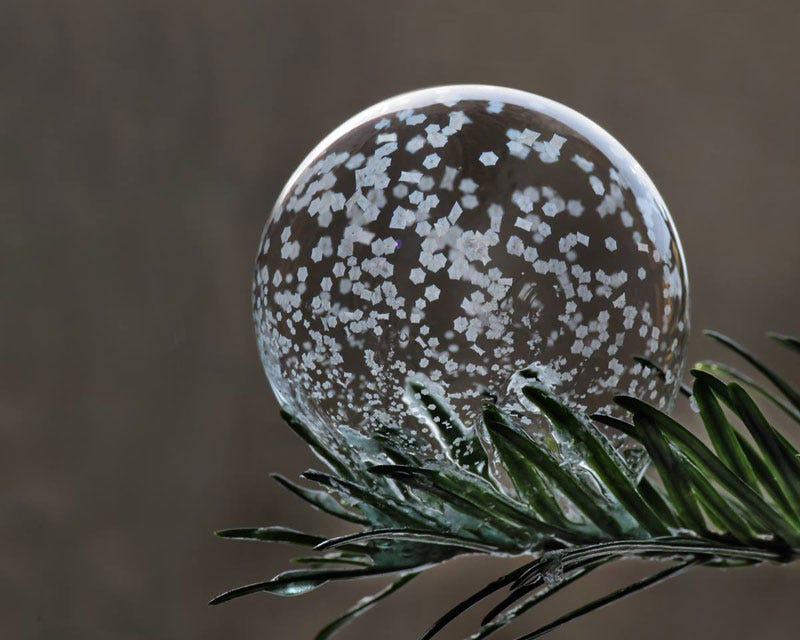
In addition, you can help this process out by touching the bubble to an already frozen surface, giving the ice a nice nucleation point from which to spread across the bubble’s surface.
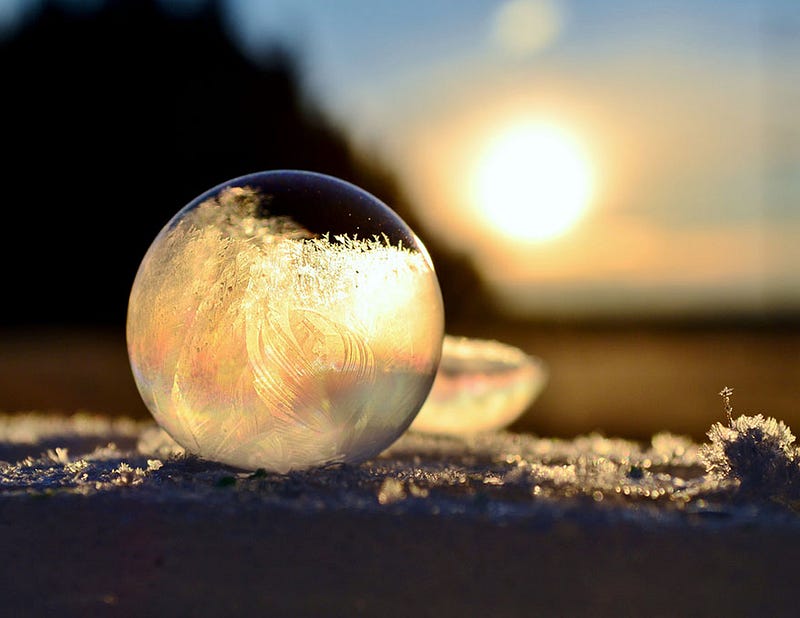
There are just a few tricks you need to know to come up with the ideal frozen soap bubble: the recipe, the conditions and the technique.
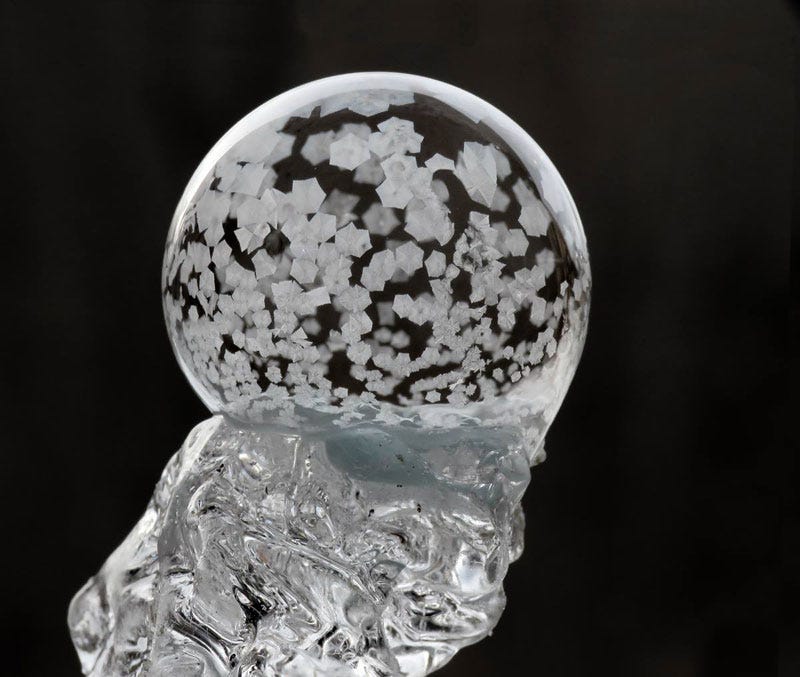
The recipe: there are a few different ones out there, but they all have the same basic ingredients. Soap, in the dishwashing liquid form, water, and a thickening syrup. Here are — from Angela Kelly, Cheryl Johnson, and Tom Falconer — a synthesis of various recipes (and your mileage may vary):
- Warm water — one cup’s worth (8 oz., or ~250 mL).
- Dish soap (Dawn, regular-not-ultra, is preferred) — between 1 oz. (30 mL) and 2.7 oz. (~80 mL) are the recommended ranges.
- A thickening agent — either glycerine (1 tbsp. / 15 mL, recommended by Tom), corn syrup (1.3 oz. / 40 mL, recommended by Cheryl), or karo syrup (a brand of corn syrup, recommended by Angela) all work.
Mix them together until its nice and uniform, and then head on outside.
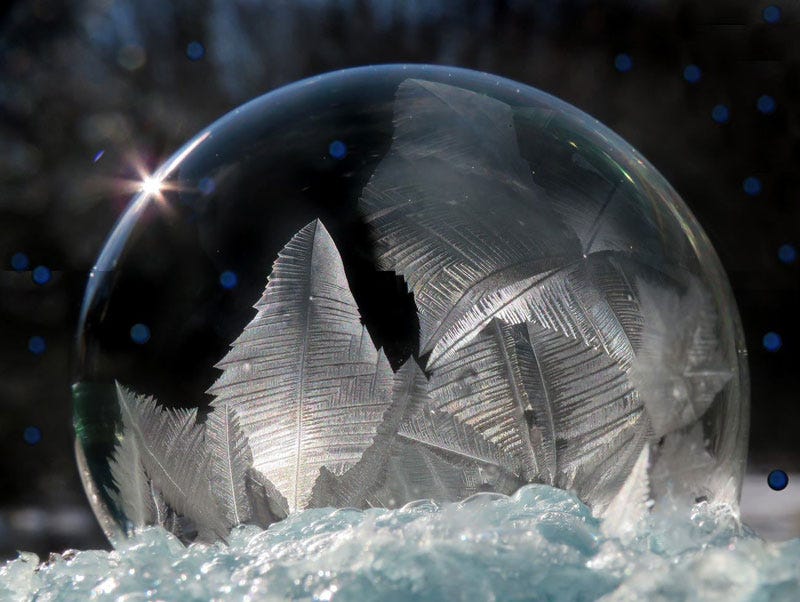
The conditions: It has to be below freezing. At maximum, you can have temperatures of 30° F (-1° C), but it really works better with temperatures that are no warmer than around the 10–15° F (-10° to -12° C) range. In addition, you want the air to be as still and wind-free as possible.
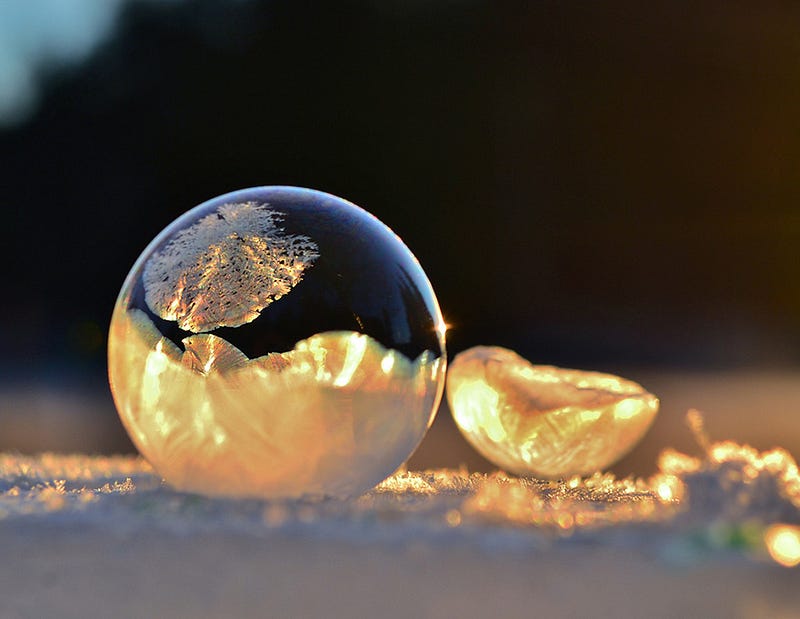
The technique: the toughest part is how to turn these soap bubbles into a frozen ornament. From everyone’s input, the keys are as follows:
- Make sure you wet down whatever surface you want to place the soap bubble on with your soapy solution.
- Create a good bubble either by using a bubble wand or blowing through a straw into the soapy solution.
- Use the wand or straw to gently place the bubble on the desired surface.
And viola!
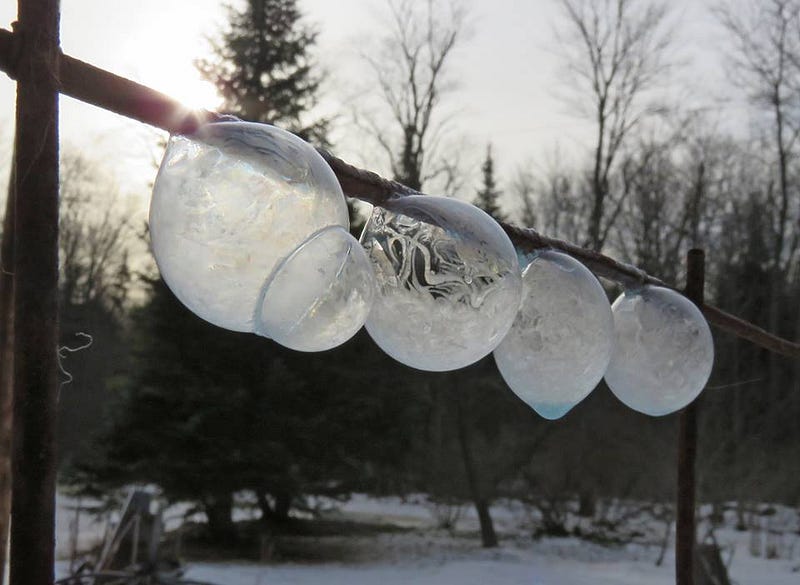
The possibilities are almost limitless, from the brilliant use of a clothesline…
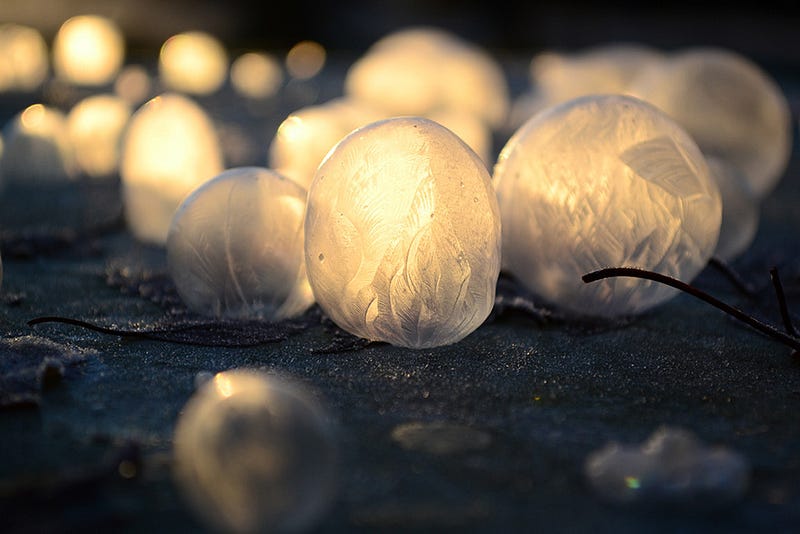
to a veritable sea of illuminated orbs (thanks to a sunset’s light)…
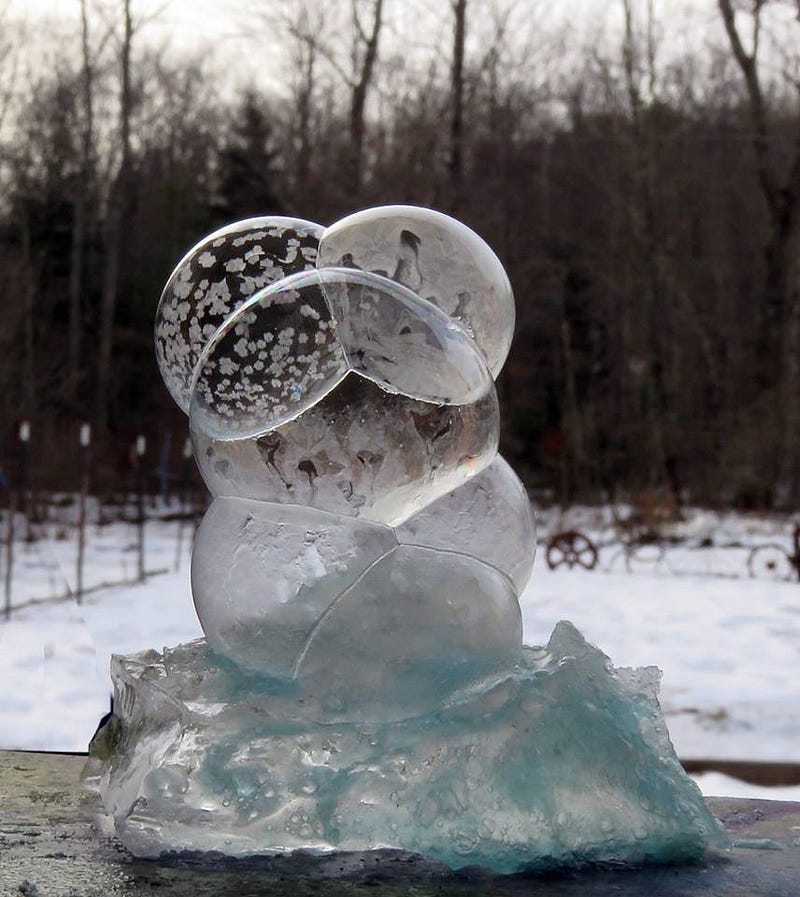
to a frozen bubble “sculpture”…
to the simple, glorious sight produced by the iridescent soap as it’s in the process of freezing over.
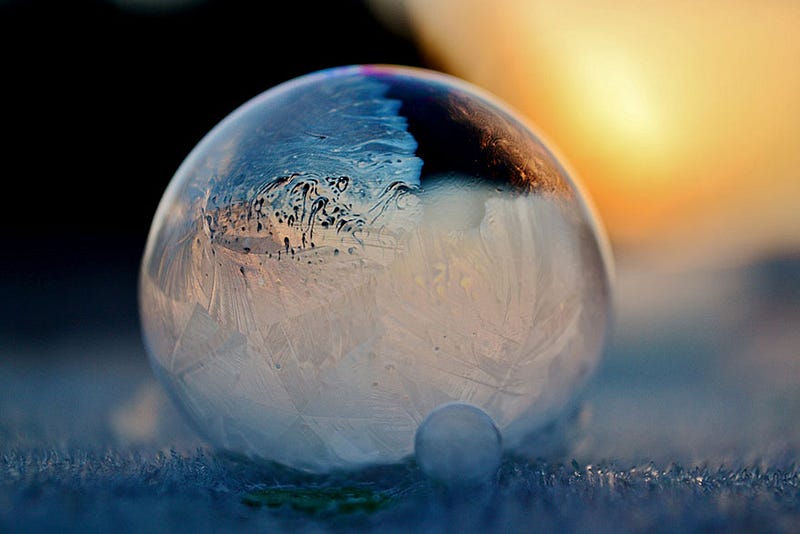
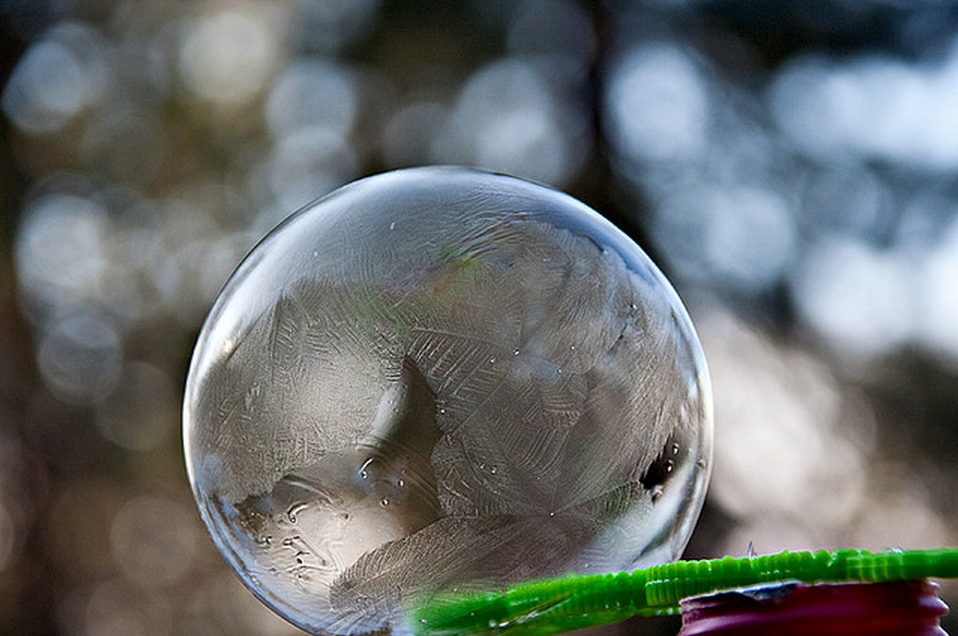
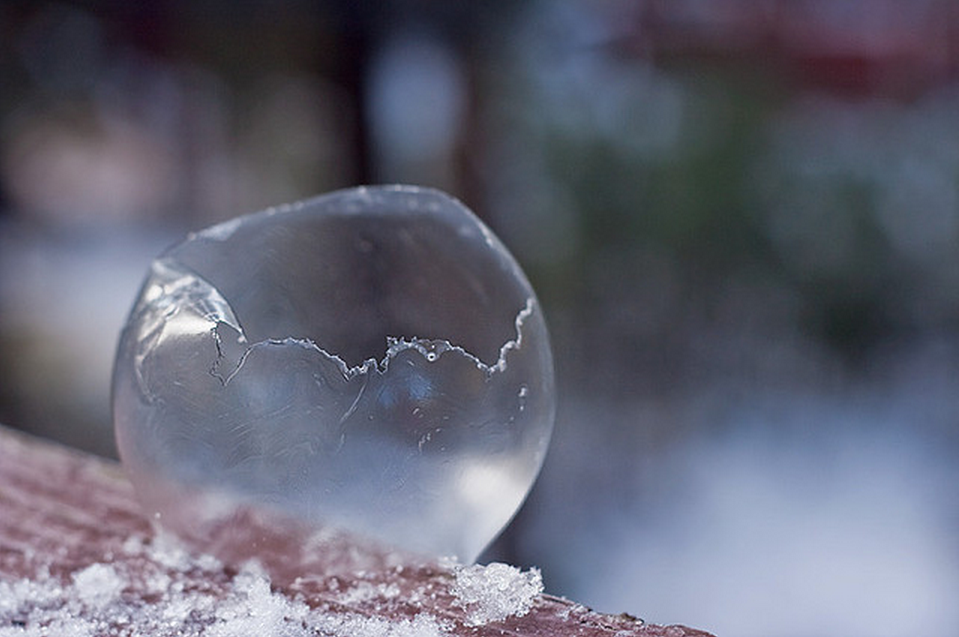
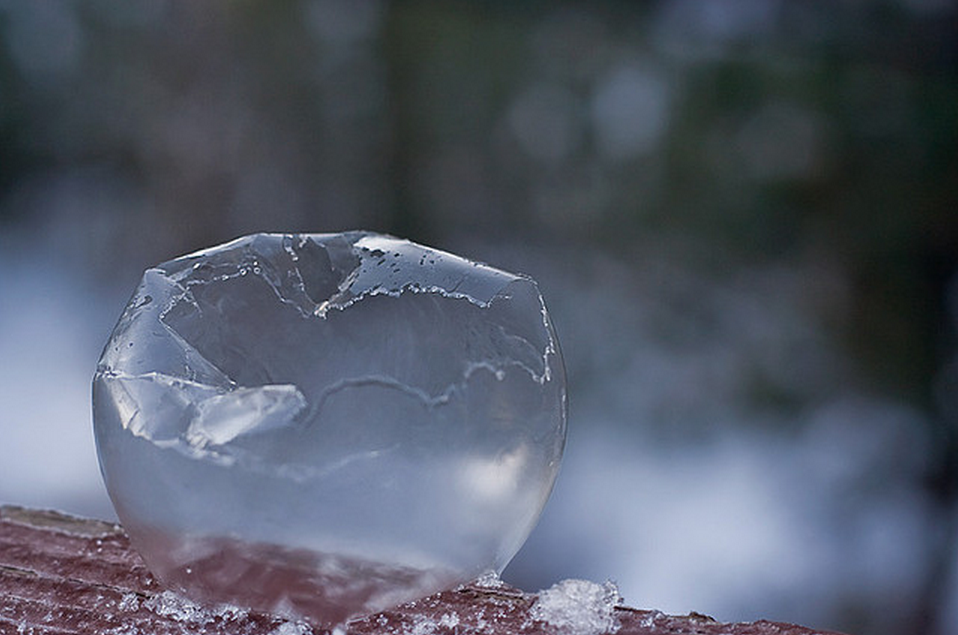
Perhaps the coolest sequence, though, comes courtesy of Tom Falconer, who describes the process of what happens to a freezing bubble (under the low-temperature, low-wind conditions) as follows:
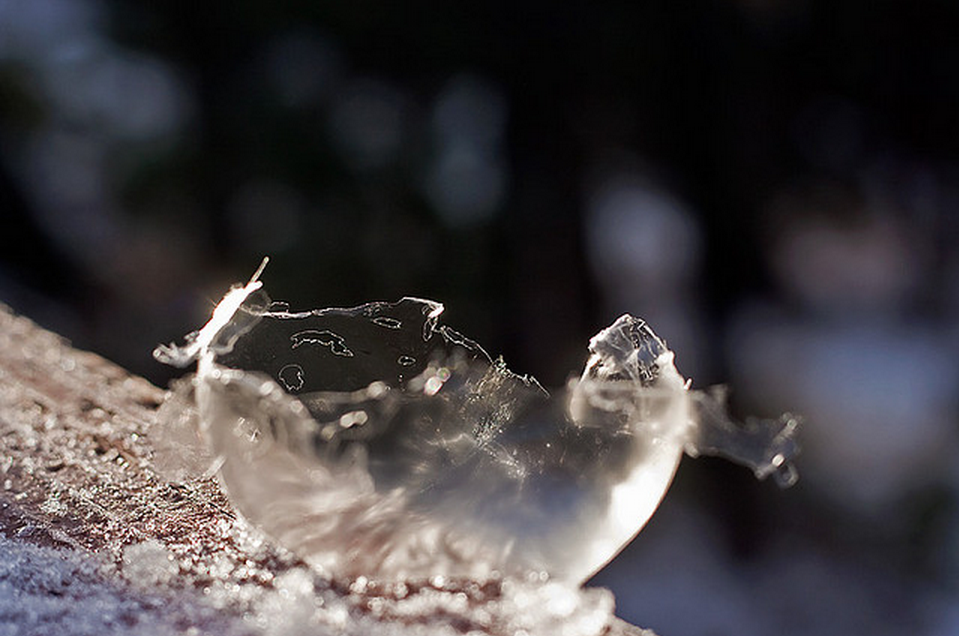
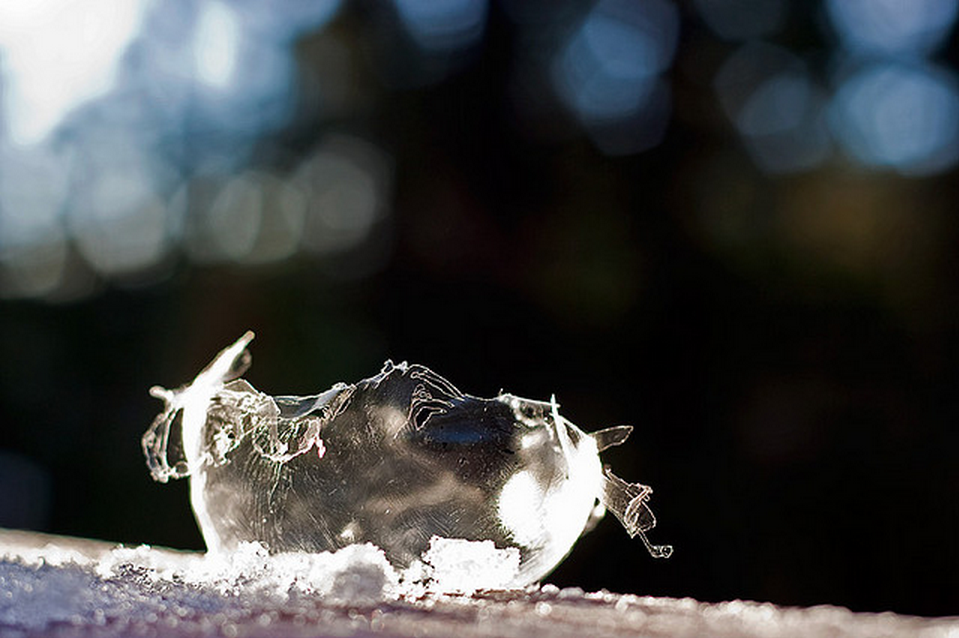
As it freezes the thick swirls in the bubble will stop moving, and little fingers of ice crystals will creep across the surface. They don’t freeze into something that will shatter, they tend to be somewhat rubbery and will eventually collapse on itself.
Have a look at his photo sequence of a soap bubble freezing, and then collapsing, doing exactly what he describes!
So if you need a little entertainment on a cold winter’s day, consider this fun and amazing activity, and enjoy the glorious sights of your own bauble-filled, frozen wonderland, courtesy of some home-cooked science!
Leave your comments at the Starts With A Bang forum on Scienceblogs, and if you missed our Comments of the Week, check those out, too!
